Homemade Coconut Milk – Healthier and More Cost Effective!
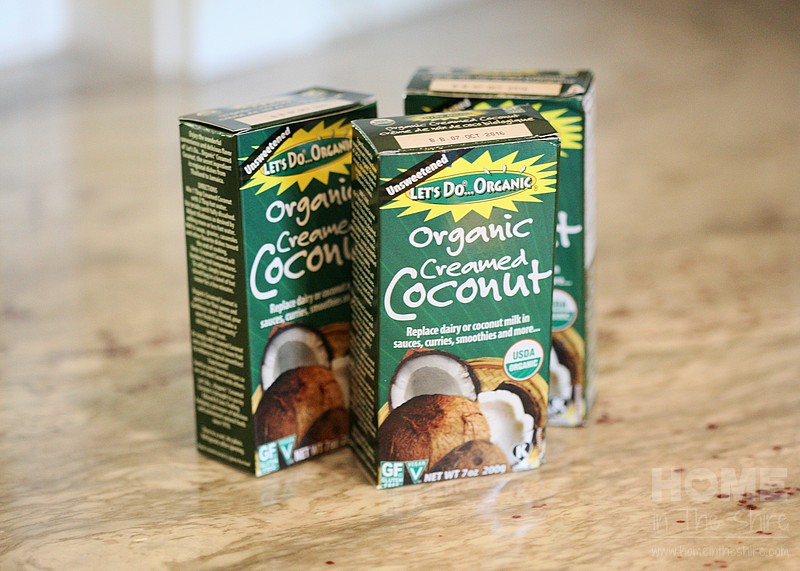
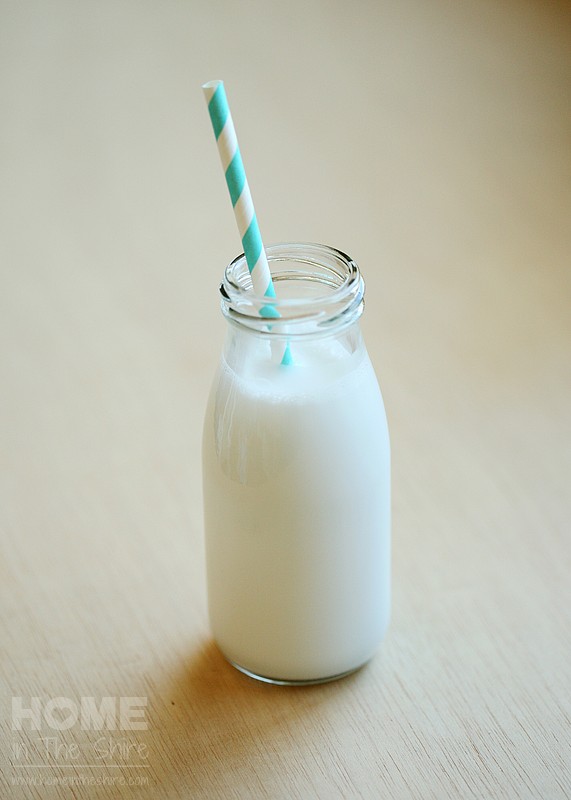
 We already know that homemade coconut milk is healthier than store-bought, and it seems to be much more cost effective too! To make coconut milk, you only need 2 ingredients: water and coconut butter. I have a new favorite creamed coconut, and the package is the perfect size for making a quart of milk. You could actually make more than 4 cups, but I like to make it fairly thick. As I’ve shared before, coconut milk is simple to make. This particular coconut butter makes it even easier! Instead of warming the jar and trying to scoop it out, you simply open the box, take out the inner pkg, drop it in a bowl of hot tap water until it is soft. Then knead the package, cut it open, and pour! I’m in love with the ease, and may give up jarred coconut manna forever (well, maybe not – I do like the jars for scooping and spreading on toast etc).
 Not only is it easy to make, but homemade coconut milk is also cheaper. If I were to buy canned coconut milk, I would buy these BPA-free cans that are also free of any gums or other additives. However, a cost breakdown shows that I can make the equivalent of over 14 cans (192+ ounces) of coconut milk for $14.34 (cost on amazon at the time of this post) or even less with Subscribe and Save. My Subscribe and Save price works out to less than $.87 per can to make it myself! To buy 12 cans (162 ounces) it would cost $33.14. That’s more than double the price to buy it pre-made! Maybe you can buy canned coconut milk for less than $2.75 per can. However, I haven’t found any local sources for BPA-free cans that are free of gums and additives. Not to mention it is much easier to store in these small packages.
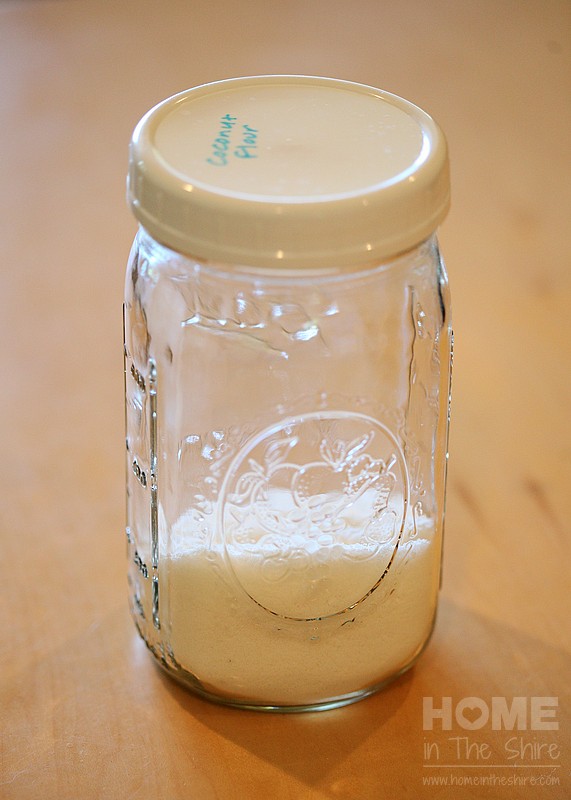
To make homemade coconut milk, all you need is filtered water, a blender, creamed coconut, and a nut milk bag. I make 2 quarts at a time because I’ve been using it to make coconut yogurt. I find the measurements below result in around 2 quarts of thick coconut milk after I have strained out the solids. The solids can be dried and used as coconut flour, which I haven’t even factored into my cost calculations above! I made the coconut flour pictured below from the pulp leftover from making 2 quarts of coconut milk. I simply put the pulp on a baking sheet in my oven with the light on until it was totally dry, then ran it through my food processor until it was the consistency of flour.
Below is the recipe for homemade coconut milk. The measurements below are a guide, but you can use more or less water depending on how thick you’d like your coconut milk.
- 2 packages creamed coconut (14 ounces total)
- 6.5 cups of warm water
- Remove the sealed bags of coconut cream from cardboard.
- Soften coconut cream in hot tap water for several minutes.
- Knead the coconut cream through the package until it is soft and pourable.
- Put the water in the blender (I use my Vitamix).
- Pour in the creamed coconut.
- Blend on high for a few minutes until well blended.
- Strain through a nut milk bag.
- Reserve the pulp for making coconut flour (or discard it).
- Refrigerate the coconut milk or enjoy immediately.
- Note: The coconut milk will separate in the refrigerator. You may need to warm it a bit to more easily mix the solid parts back in.
Enjoy!
PS. This post is not sponsored by Let’s Do Organic lol, but maybe it should be 😉


One Comment
Pingback: